
Developers>Tutoriels>Proximity sensors
Proximity sensors
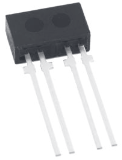
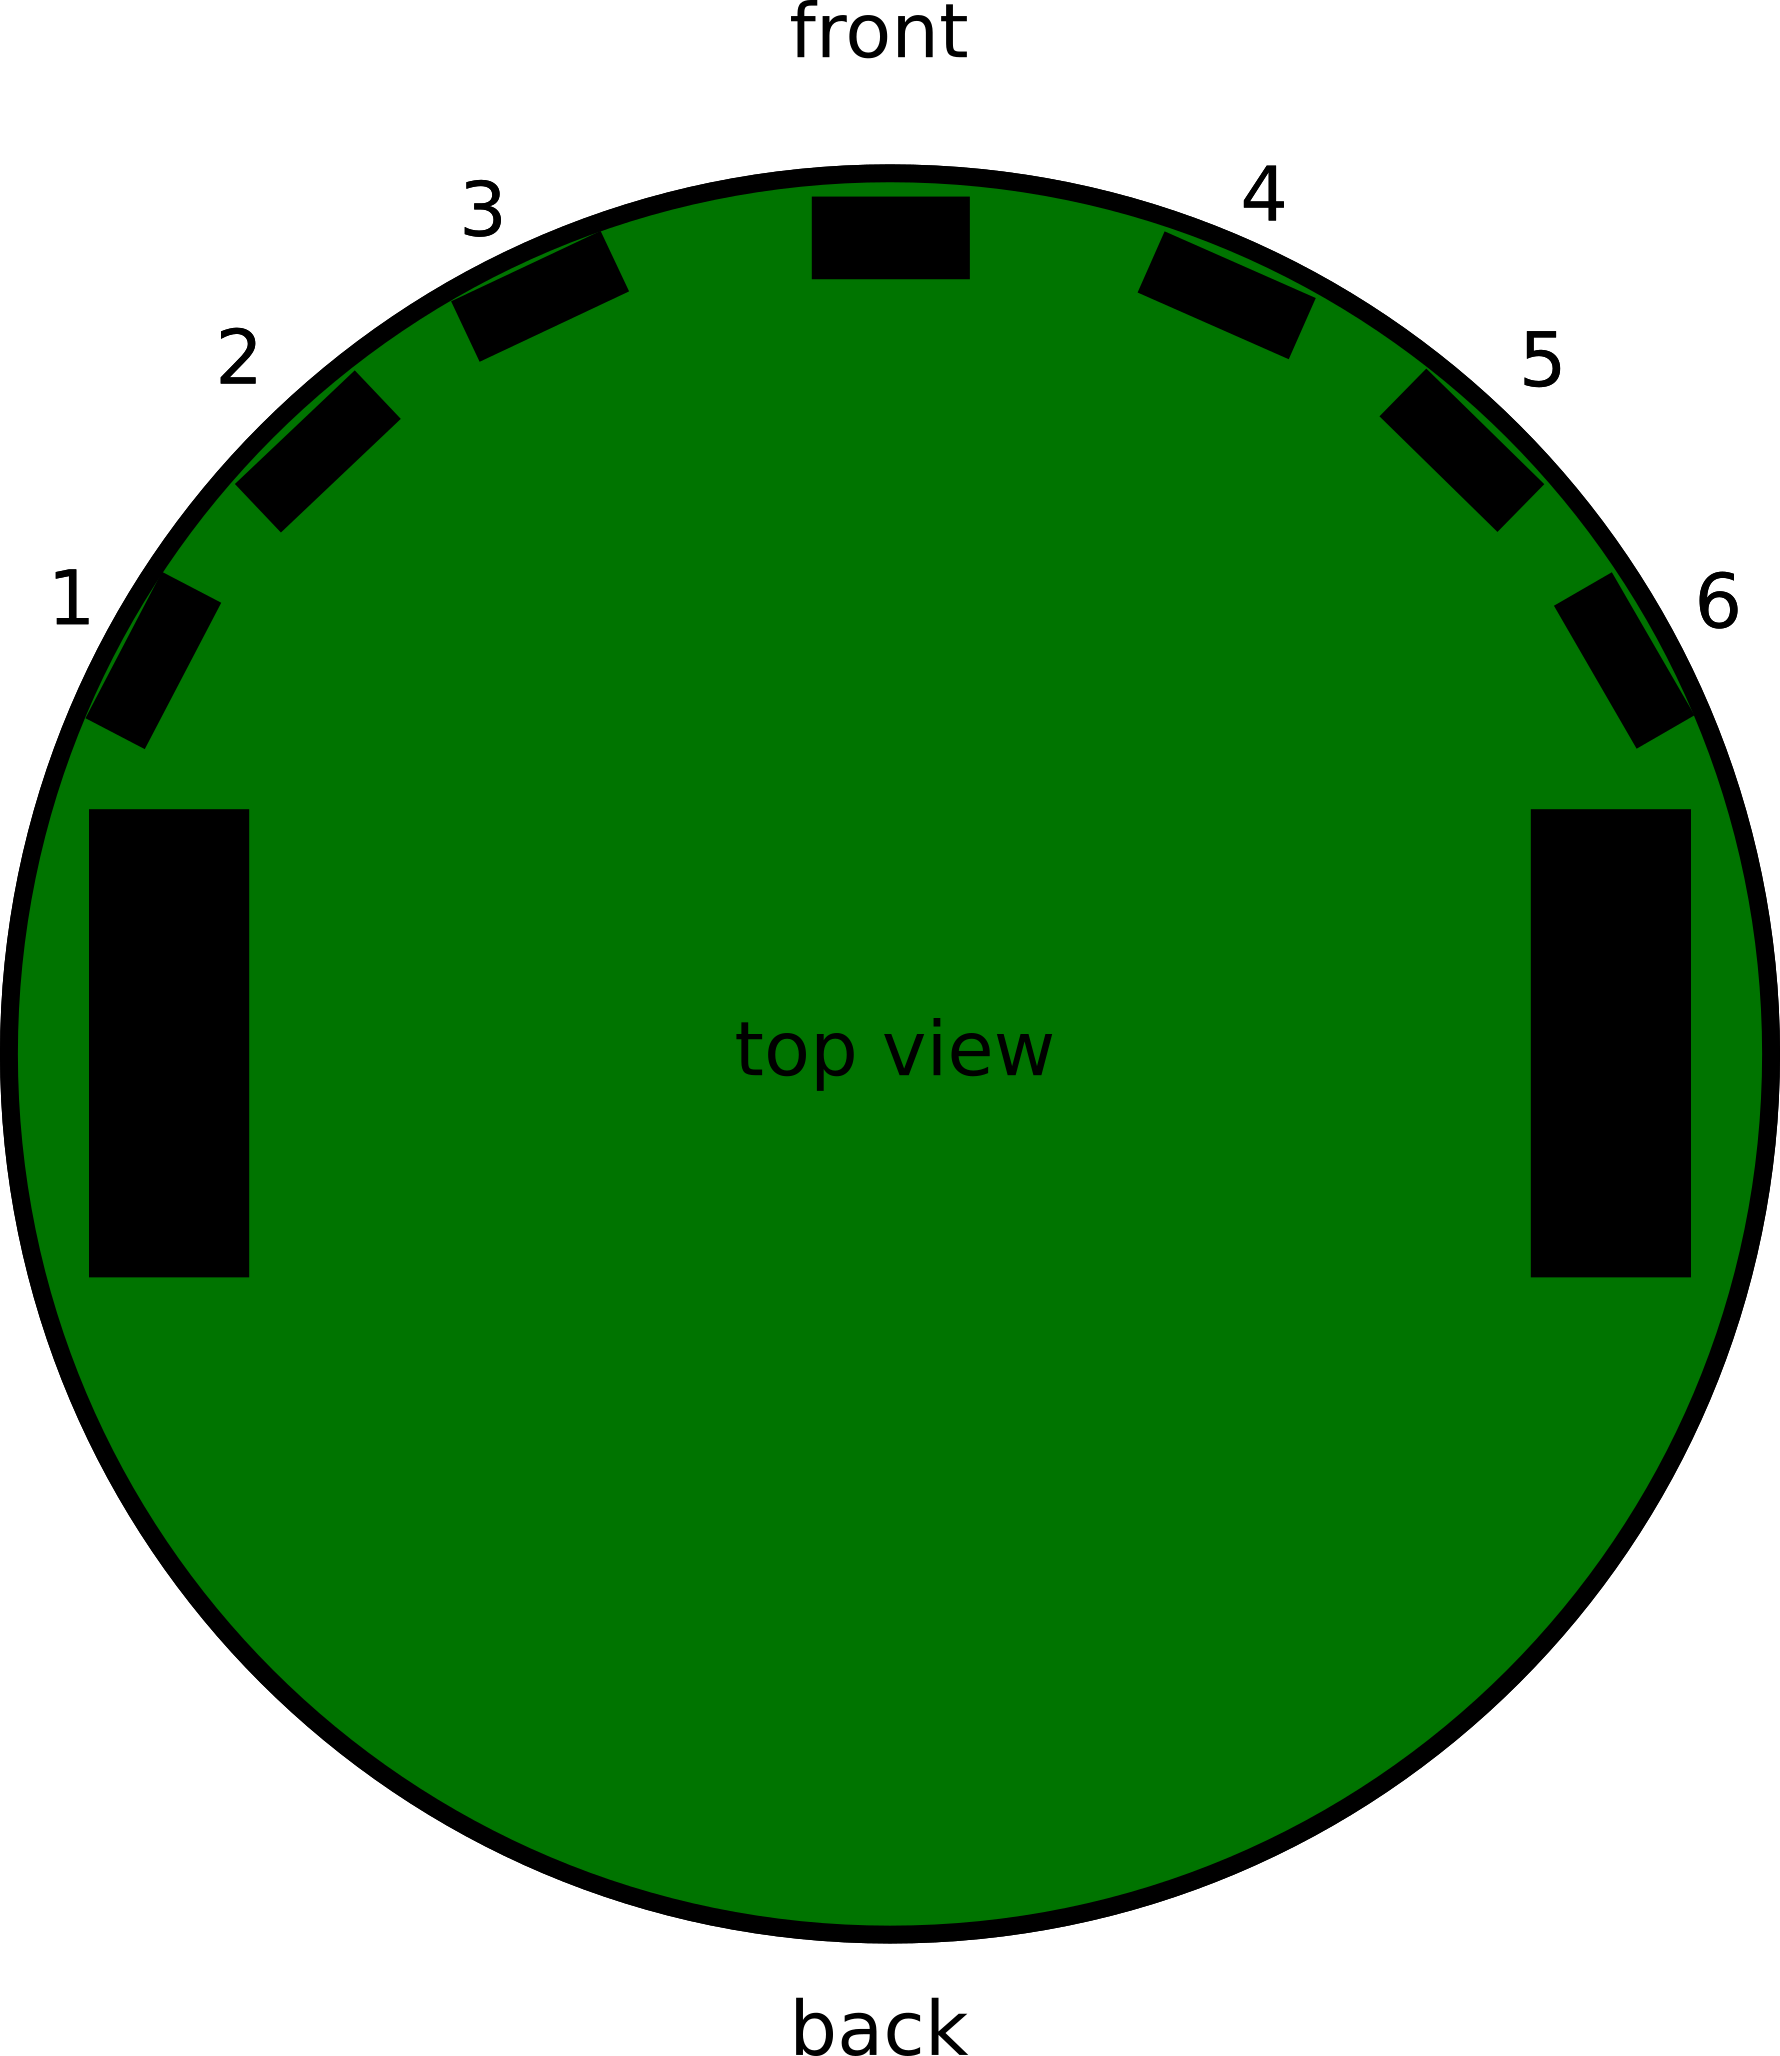
MRPi1 the robot is equipped with six proximity sensors, they are located at the front.
Here the placement of six sensors of the robot control board :
 Read a sensor
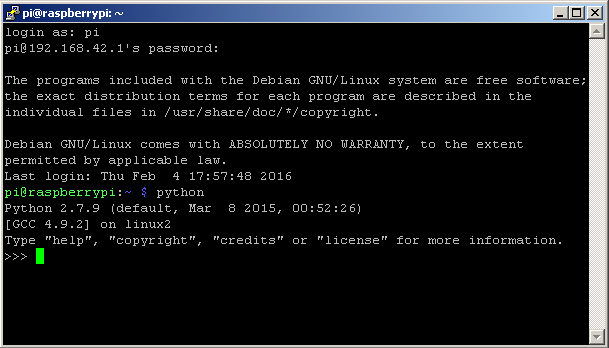
- Start the python program :
$ python
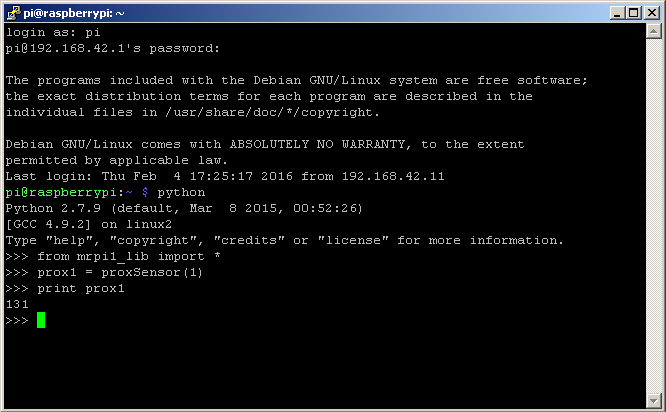
- import the mrpi1_lib library :
>>> from mrpi1_lib import *
- read the value of sensor 1 :
>>> prox1 = proxSensor(1)
>>> print prox1
The return value is a value between 0 and 4095.
Read sensors
Then exit the Python interpreter to create a script :
>>> exit()
- You can create a python script with the editor of your choice, for my part I use Notepad ++ and then I transfer the file to the Raspberry Pi via the FileZilla software.
- python script to read proximity sensors :
Name : prox1.py
#!/usr/bin/python
from mrpi1_lib import *
import time

# infinite loop
while 1:
  p1 = proxSensor(1)
  p2 = proxSensor(2)
  p3 = proxSensor(3)
  p4 = proxSensor(4)
  p5 = proxSensor(5)
  p6 = proxSensor(6)

  # Show values
  print "%d %d %d %d %d %d" %(p1,p2,p3,p4,p5,p6)

  time.sleep(1)
Algorithm of the program :
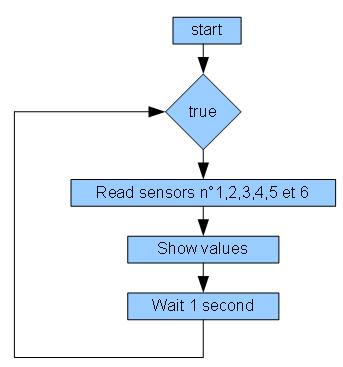
This program read all proximity sensors of the MRPi1 robot.
Obstacles Management
In this part we will see how to use proximity sensors to manage an obstacle placed in front of the robot.
- python script to read proximity sensors :
Name : prox2.py
#!/usr/bin/python
from mrpi1_lib import *
import time

# obstacle detection threshold
seuil = 300

while 1:
  p3 = proxSensor(3)
  p4 = proxSensor(4)
  print "%d %d " %(p3,p4)

  if ((p3 > seuil) or (p4 > seuil)):
    stop()
  else:
    forward(30)

  time.sleep(0.2)
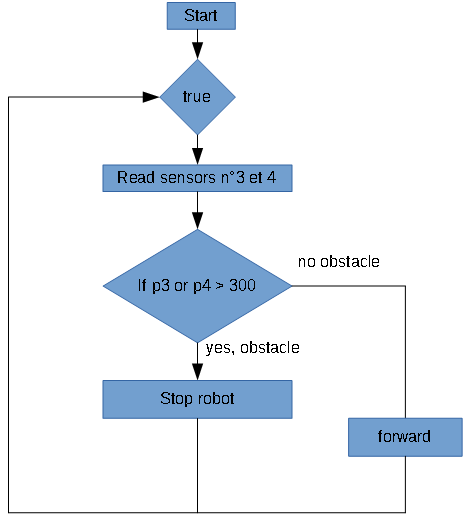
This program allows to move the robot when there are no obstacles in front of him. The sensors 3 and 4 are used to detect an obstacle in front of the robot.
Well, now you know how to use proximity sensors of the MRPi1 robot.