
Developers>Getting started
This web page present the first step with MRPi1 robot. Please, follow the steps in this presented order.
What do you need ?
- MRPi1 robot,
- SSH client (exemple: Putty)
- A PC with wifi communication
The differents steps :
- Recharge the battery of the robot,
- Starting the MRPi1 robot,
- Robot login
1.Recharge the battery
To recharge the MRPi1 battery you need :
- micro-USB cable,
- A PC or a usb power adapter
Then :
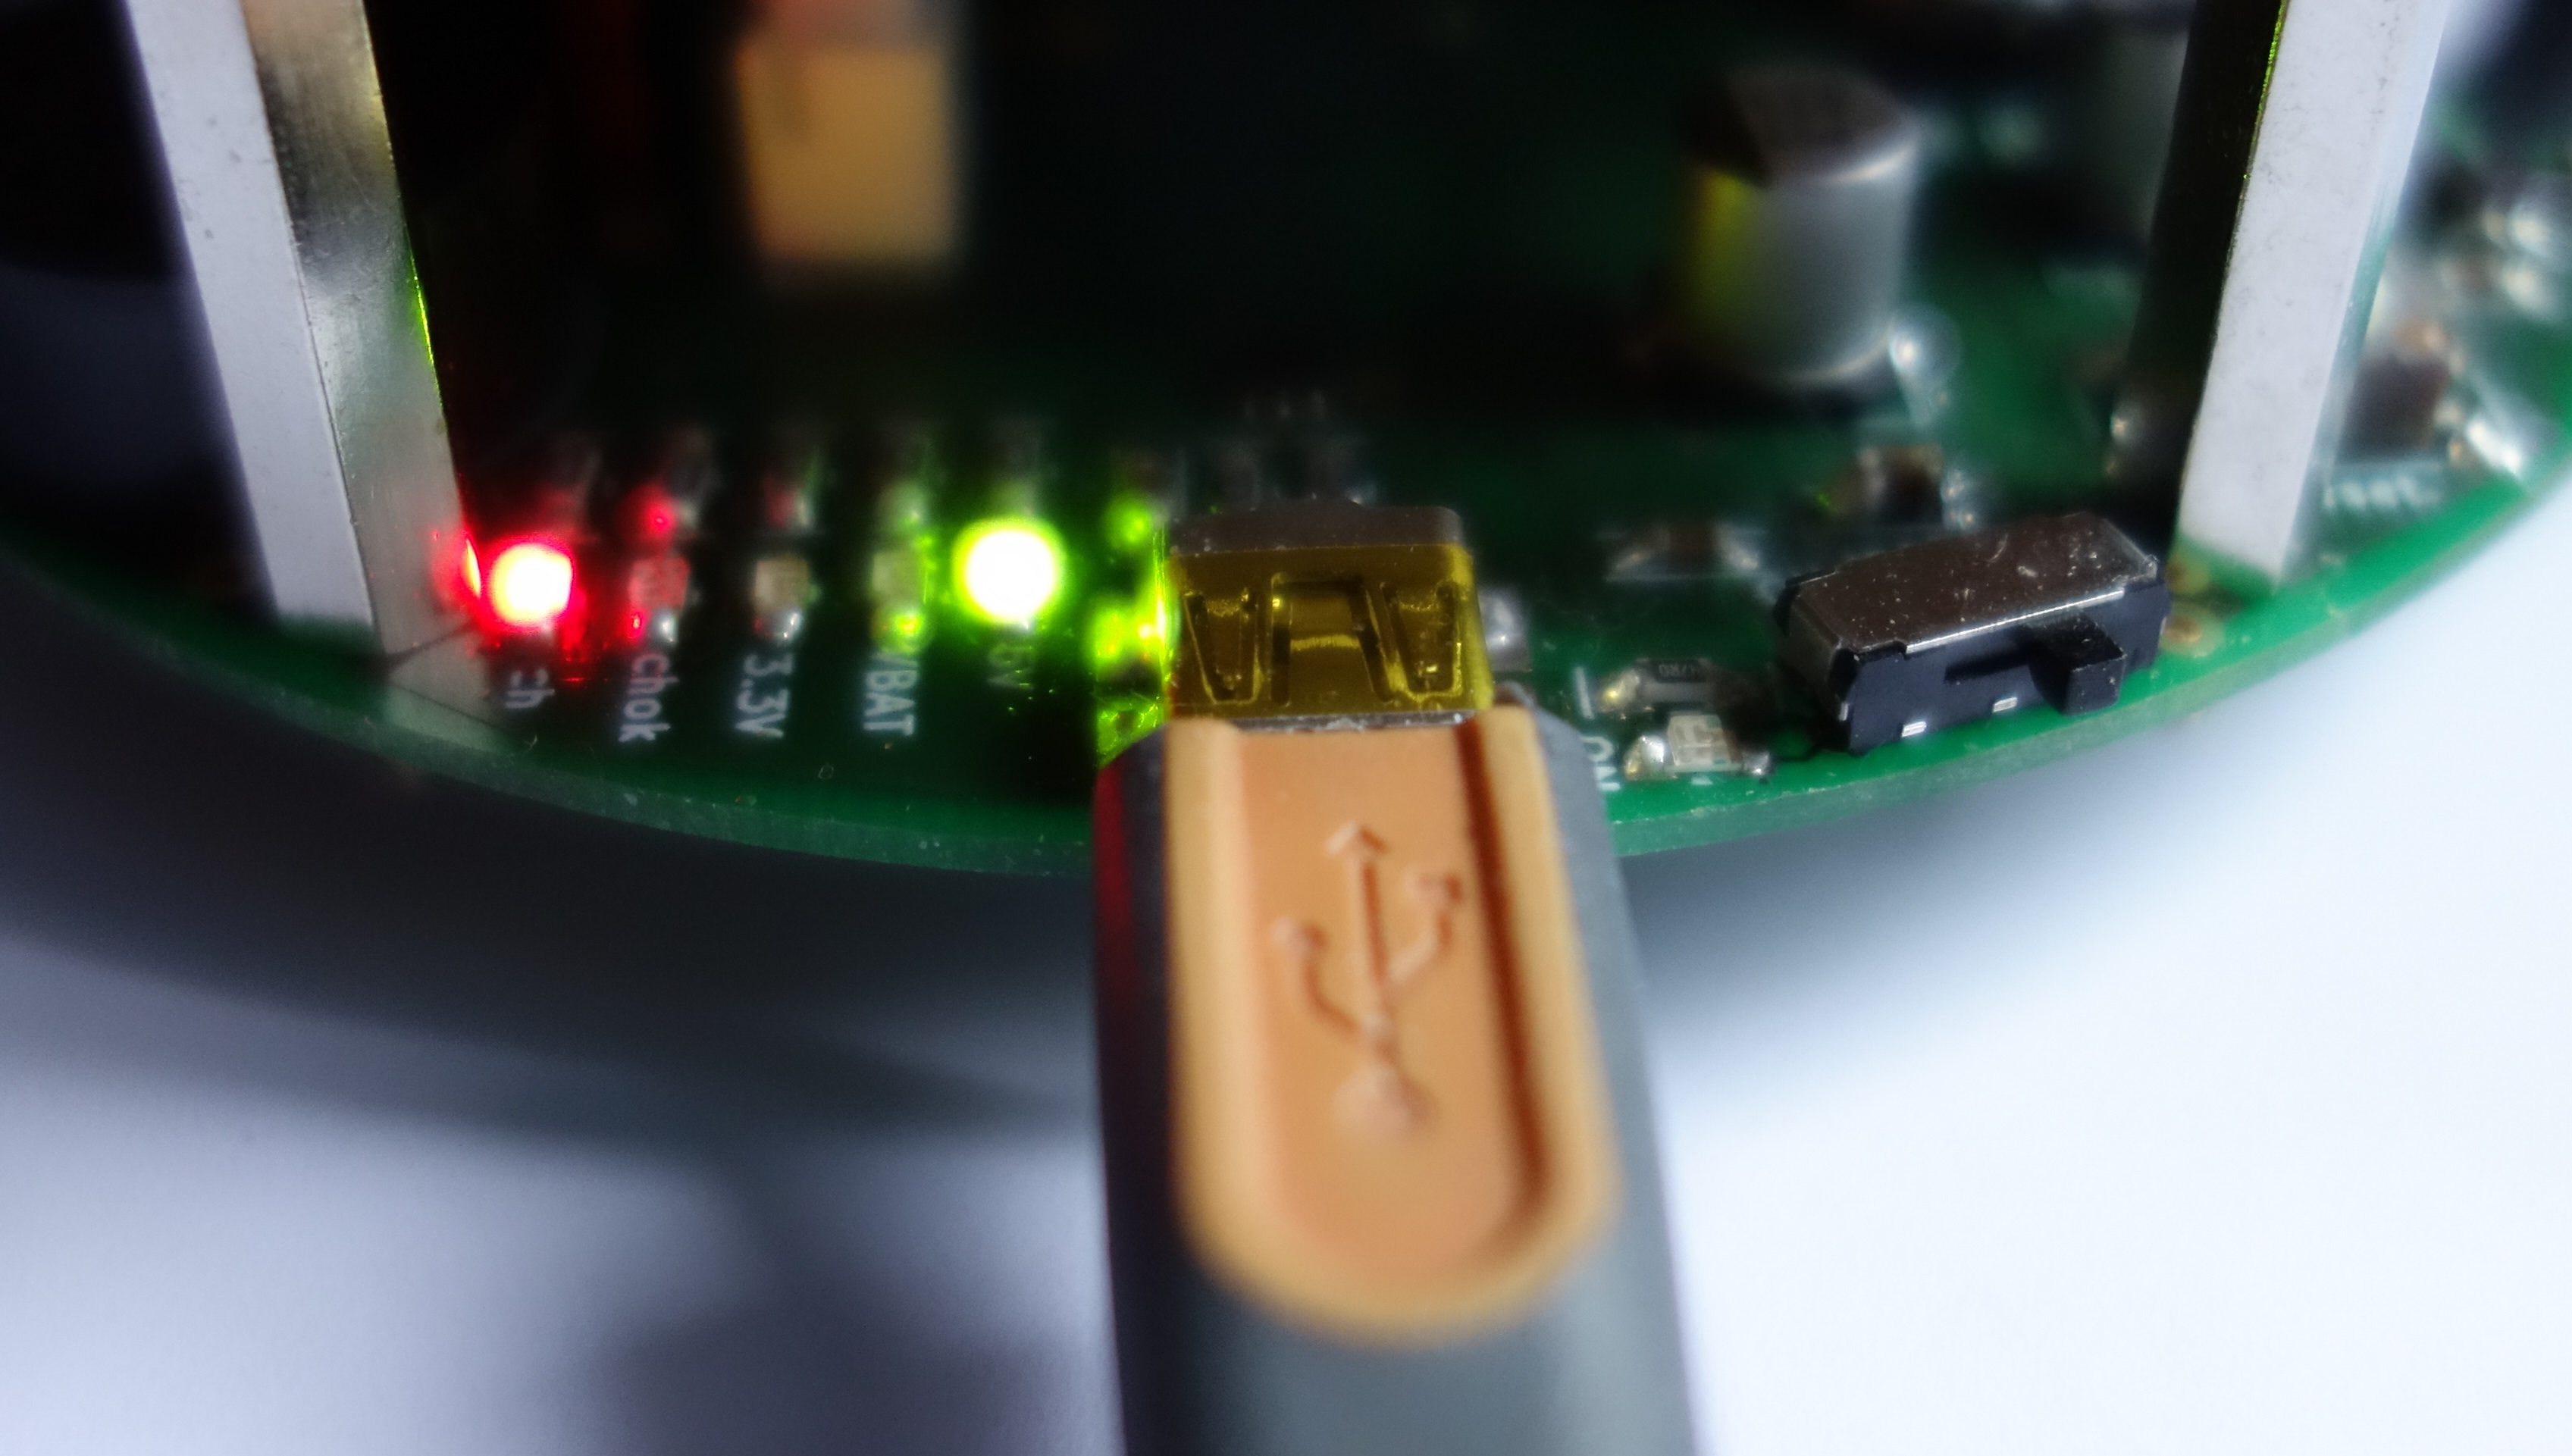
- Set the switch to the OFF position to turn off the robot.
- Connect the micro-usb cable
- The red led ‘CH’ and ‘+5V’ must be turned on. The battery is being charged.
- When the blue led will be turn on, this will be indicate that your battery is charged.
2.Starting the MRPi1 robot
- Turn on the ON/OFF switch.
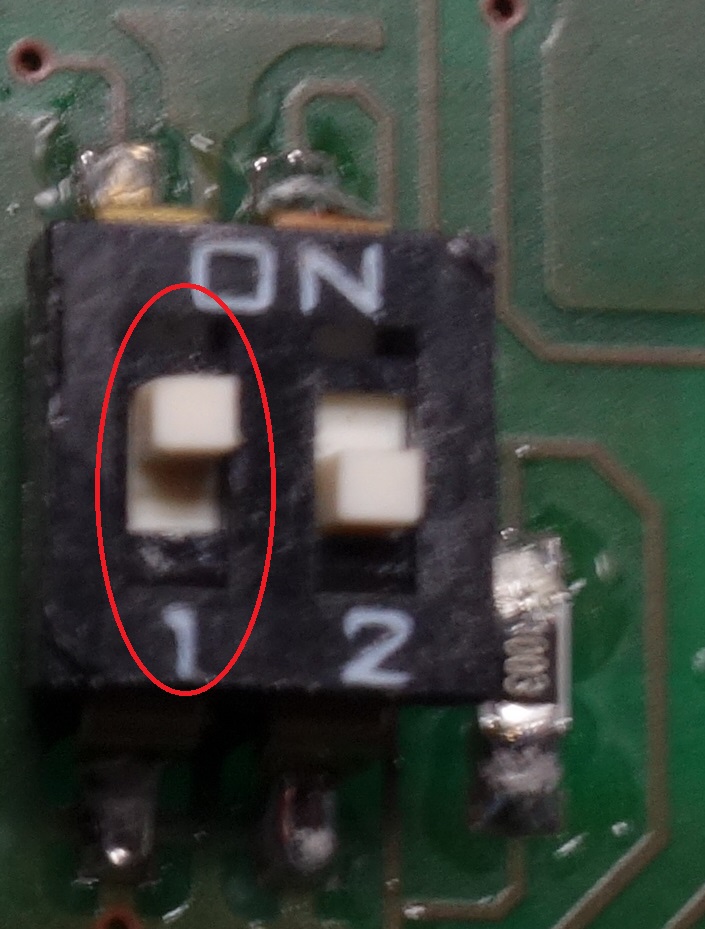
- The ON green led must be blink to indicate the robot activity. If this led does not blink, then check if switch 1 is hight position.
3.Robot login
If you use Windows :
- Wifi connexion via your computer :

- Wifi network password: raspberry
- Connection with SSH software (putty) :

- Putty configuration :
- IP Address : 192.168.42.1
- Port : 22
- Connexion type : SSH

- Click ‘open’ :

- login : pi
- password : raspberry

Your are connect to MRPi1 robot, congratulations !