Exemple de contrôle d’une led sur le port PE8 avec un microcontrôleur STM32F407 :
Exemple de contrôle d’une led sur le port PE8 avec un microcontrôleur STM32F407 :
Une vidéo de présentation du robot MRPiZ :
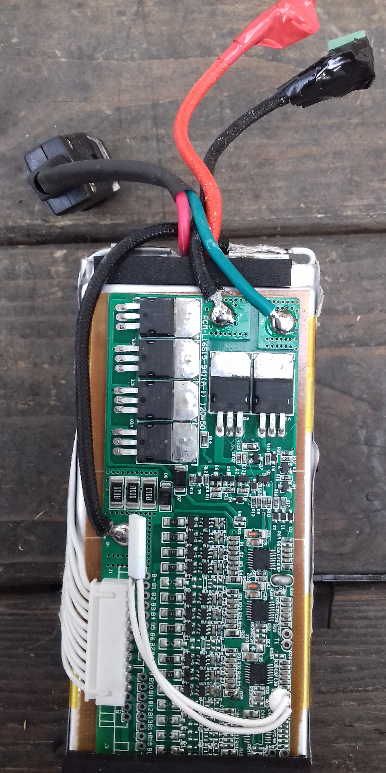
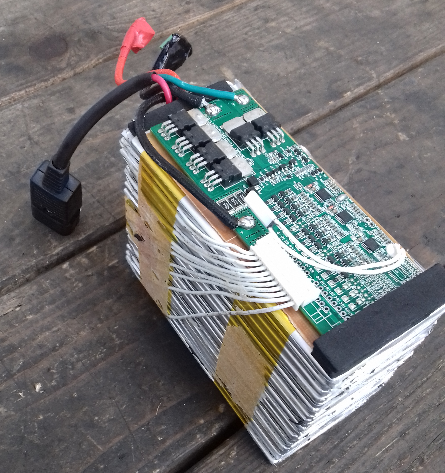
Ouverture d’une batterie de vélo électrique d’une tension de 36V :
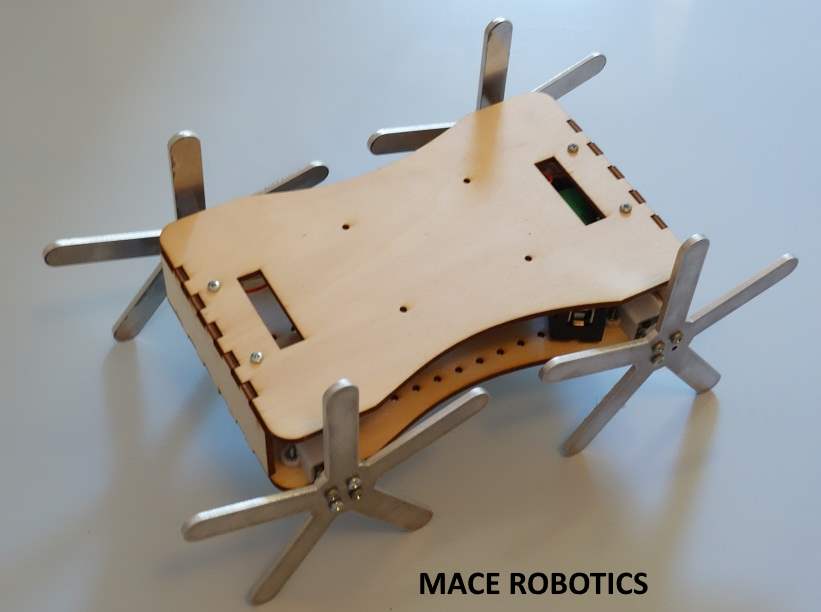
Kit robotique disponible en boutique : https://shop.macerobotics.com/produit/kit-chassis-mr-rescue/
https://www.facebook.com/MaceRobotics/videos/vb.1071880259509268/721286768734468/?type=2&theater
Un tutoriel pour gérer le buzzer et le led RGB du robot mobile MRPiZ (version 0.8) en langage C.
Un exemple pour utiliser le buzzer :
buzzer(frequency)
Un exemple pour utiliser la led RGB :
ledRGB(red, green, blue)

Un tutoriel pour programmer le robot mobile MRPiZ en langage C.
Lien pour l’API C : https://github.com/macerobotics/MRPiZ/tree/master/Software/C
Les fichiers doivent être placer dans des répertoires:
Un exemple pour déplacer le robot MRPiZ:
Compilation du fichier :
Exécution du programme :
Un exemple pour la lecture des 3 capteurs ToF du robot :
Un exemple pour la lecture des 2 encodeurs du robot.
Fin du tuto !