Un tutoriel pour contrôler le robot MRduino Wireless par UDP avec un programme python.
UDP = User Datagram Protocol
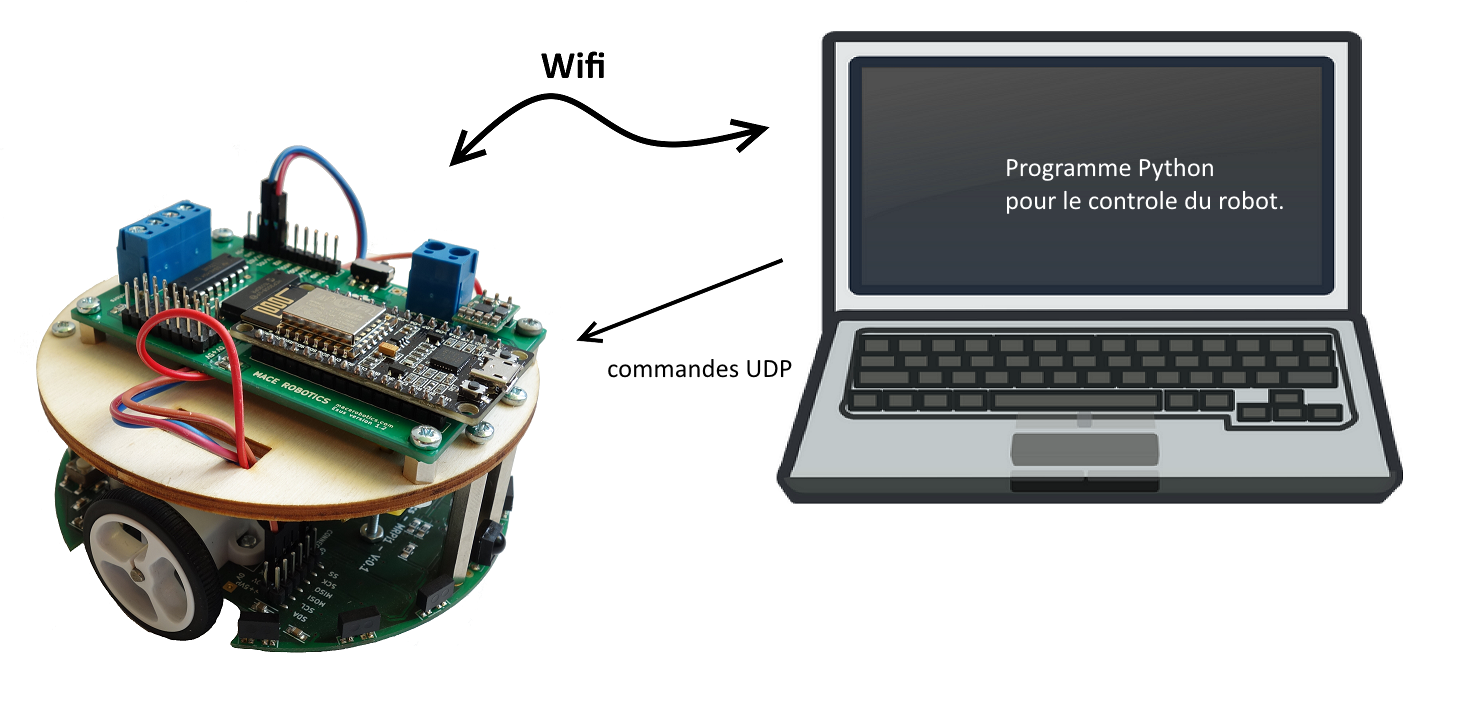
Le contrôle du robot est réaliser par un programme en langage python.
Le programme pour le robot
Ce programme permet au robot MRduino Wireless de
Il faut modifier votre SSID et mot de passe de votre réseau Wifi :
const char* ssid = "YOUR_SSID";
const char* pass = "YOU_PASSWORD";
Le programme complet :
#include <ESP8266WiFi.h>
#include <WiFiUDP.h>
#include <mrduino.h>

static void read_receptionCommande(String Commande);

int status = WL_IDLE_STATUS;
const char* ssid = "YOUR_SSID";  //  your network SSID (name)
const char* pass = "YOUR_PASS";       // your network password

unsigned int localPort = 12345;

WiFiUDP Udp;
int tries=0;

void setup()
{
  // Open serial communications and wait for port to open:
  Serial.begin(115200);

  // setting up Station AP
  WiFi.begin(ssid, pass);

  // Wait for connect to AP
  Serial.print("[Connecting]");
  Serial.print(ssid);

  while (WiFi.status() != WL_CONNECTED)
  {
    delay(500);
    Serial.print(".");
    tries++;
    if (tries > 30)
    {
      break;
    }
  }
  Serial.println();

  printWifiStatus();

  Serial.println("Connected to wifi");
  Serial.print("Udp server started at port ");
  Serial.println(localPort);
  Udp.begin(localPort);
}

void loop()
{
int noBytes = Udp.parsePacket();
String received_command = "";
byte packetBuffer[512];

  if ( noBytes )
  {

    Serial.print("received a packet");

    // We've received a packet, read the data from it
    Udp.read(packetBuffer,noBytes); // read the packet into the buffer

    for (int i=1;i<=noBytes;i++)
    {
      received_command = received_command + char(packetBuffer[i - 1]);
    } // end for

    Udp.beginPacket(Udp.remoteIP(), Udp.remotePort());
    Udp.endPacket();

    // execution de la commande
    Serial.println(received_command);

  } // end if
}

void printWifiStatus()
{
  // print the SSID of the network you're attached to:
  Serial.print("SSID: ");
  Serial.println(WiFi.SSID());

  // print your WiFi shield's IP address:
  IPAddress ip = WiFi.localIP();
  Serial.print("IP Address: ");
  Serial.println(ip);
}
- Compiler et télécharger le programme dans le robot MRduino Wireless
Le programme de contrôle
Remarque : programme pour Windows
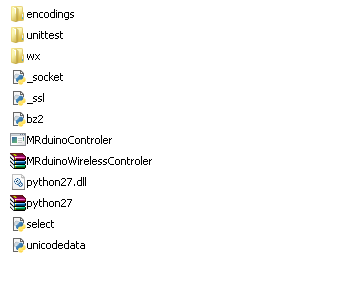
- Lancer le programme MRduinoControler.exe
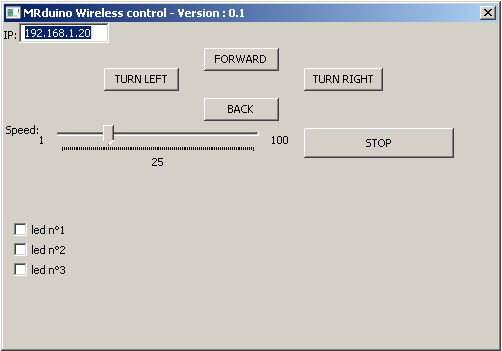
Ce programme permet de contrôler les mouvements du robot et les trois leds. Ne pas oublier de saisir l’adresse IP correct du robot.